Track Plan of Eschenlohe Bahnhof & Hartsteinwerk Werdenfels
Back to Prototype Information
Track Plan
The current track plan at Eschenlohe Bahnhof and Hartsteinwerk Werdenfels.
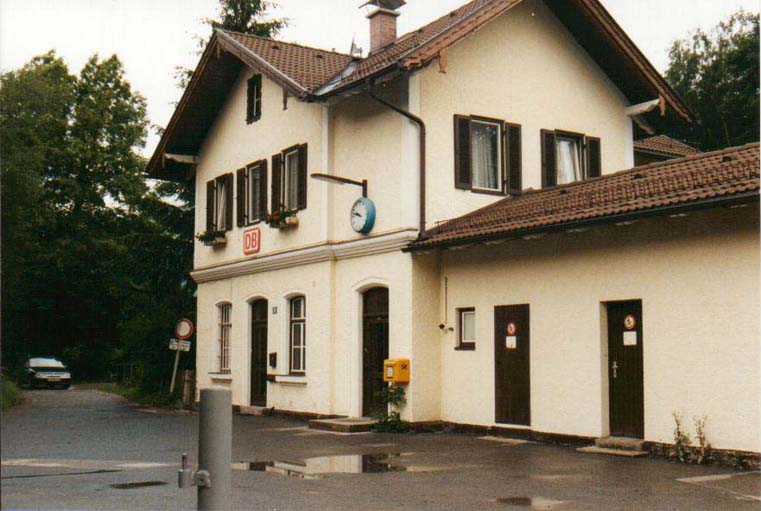
A roadside view of the Eschenlohe Bf.
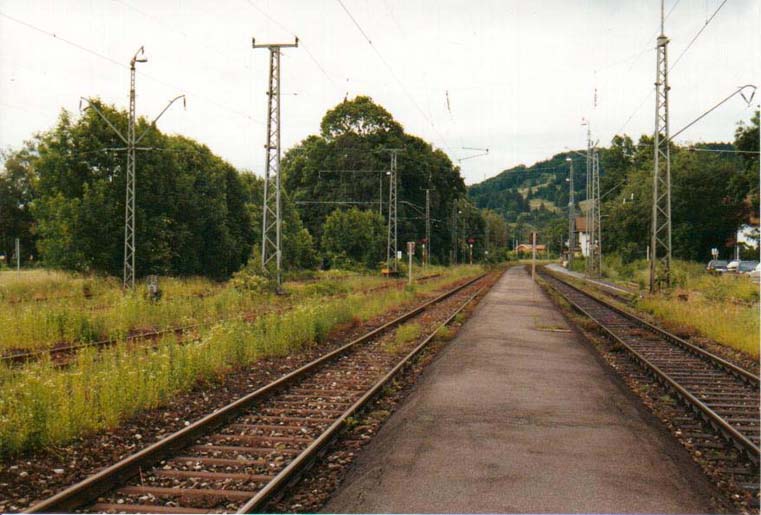
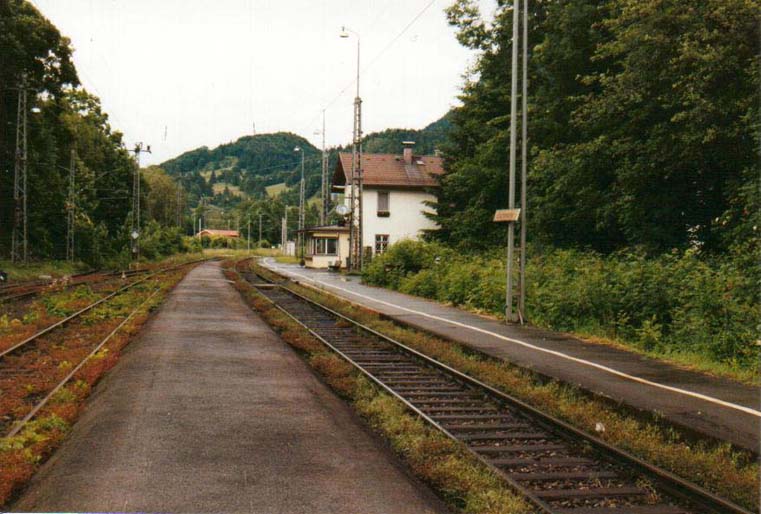
A view looking north on the south end of the center platform at the Eschenlohe Bf.
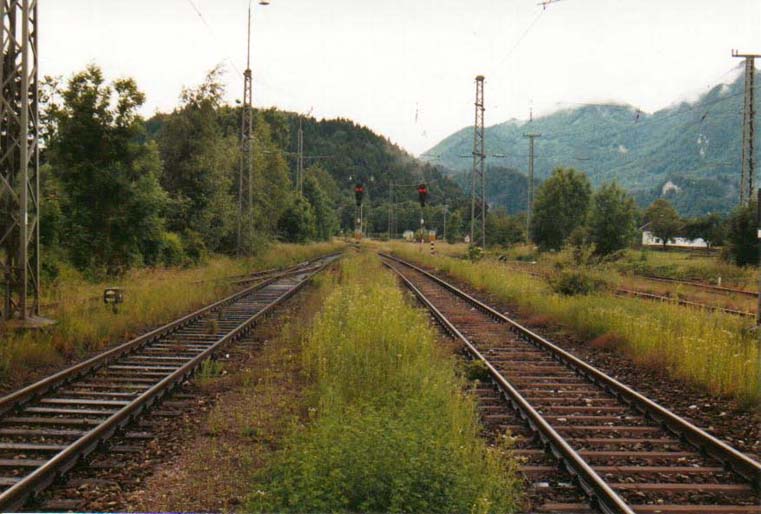
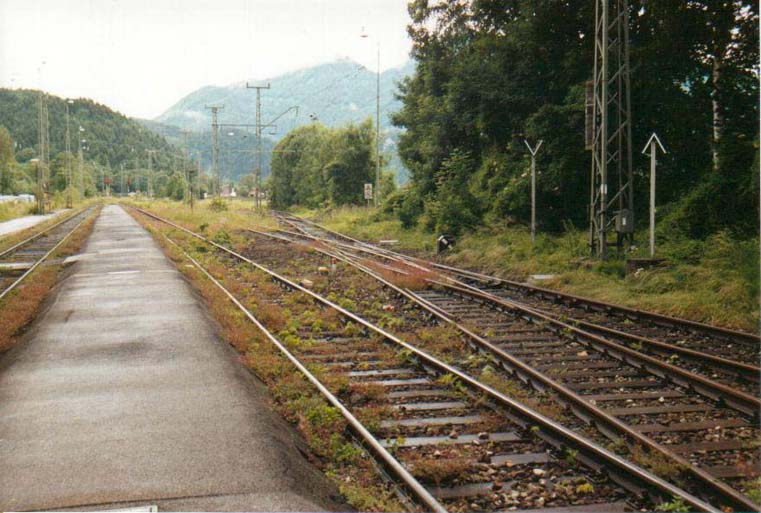
Southern view from the end of the center platform.
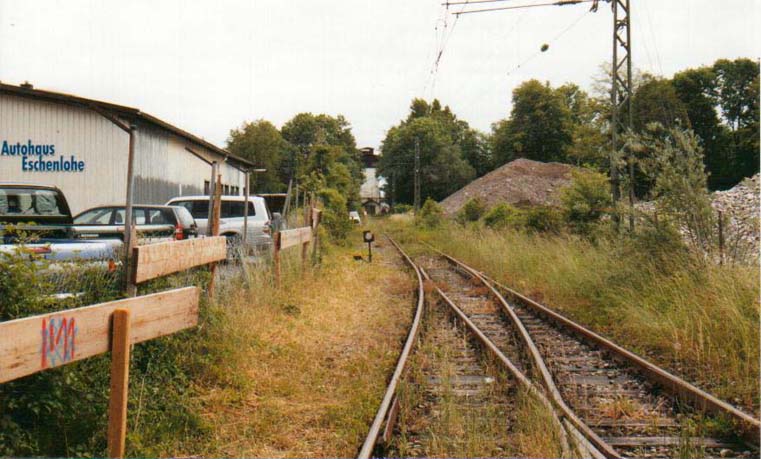
A northern view from the southern end of the center platform.
A view to the south of the sidings used for storage of ballast hoppers from Hartsteinwerk Werdenfels in Eschenlohe Bf.
A view to the north of the sidings used for storage of ballast hoppers.
A northern view from the main platform, directly in front of the station building.
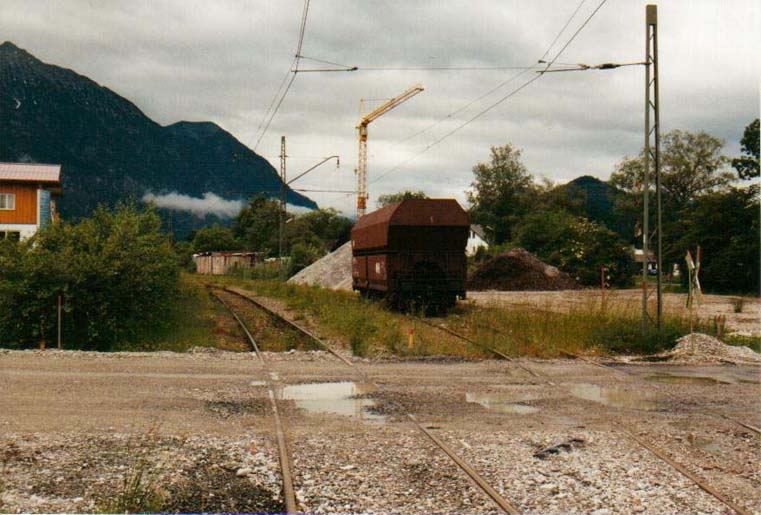
A ballast hopper on a siding along the spur to Hartsteinwerk Werdenfels.
Same hopper, slightly different view.
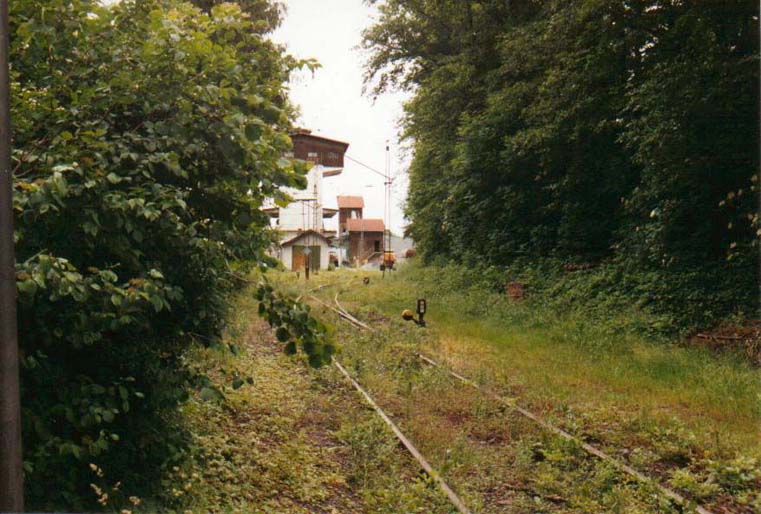
Hartsteinwerk Werdenfels (between trees, center) approaching from Eschelohe Bf.
Simlar view. Autohaus Eschenlohe on the left.
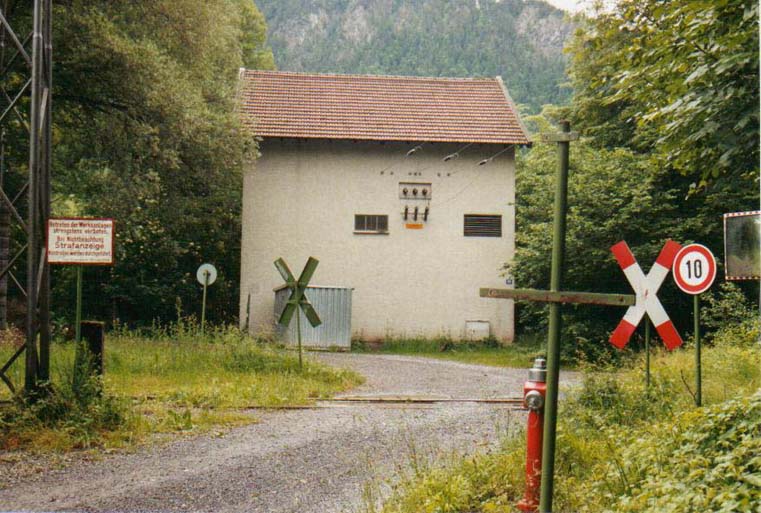
What appears to be an electrical substation. The road crosses the spur to Hartstein Werdenfels.
Similar view. Better shot of crossbucks and the speed limit sign.
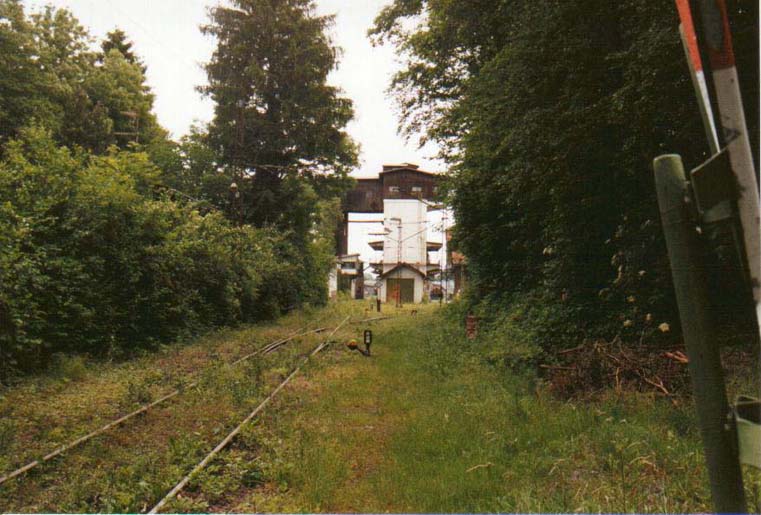
Closer view of Hartsteinwerk Werdenfels as seen from the road near the electrical substation.
Similar view.
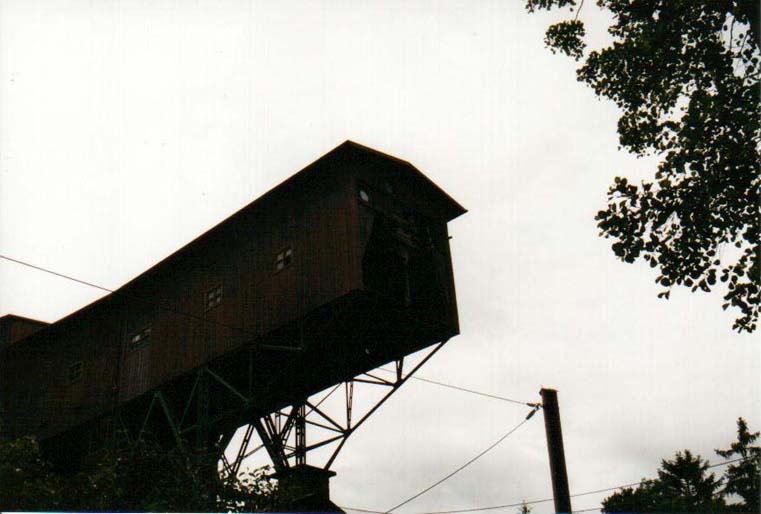
The "bridge" crossing over B-2. This structure protects passing cars from falling ballast from the Seilbahn.
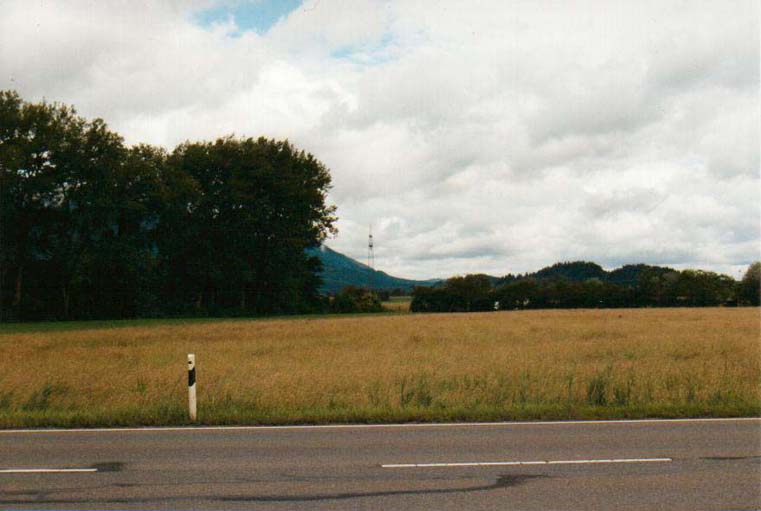
A meadow across from Hartsteinwerk Werdenfels. Barely visible is a mast that supports the Seilbahn.
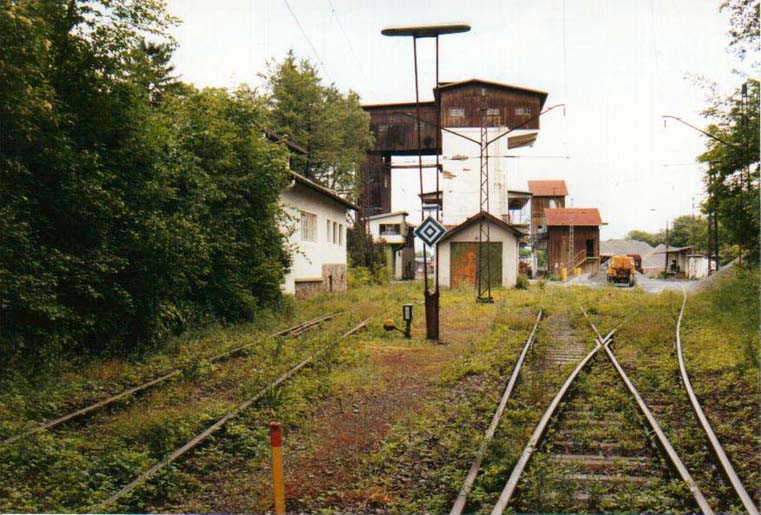
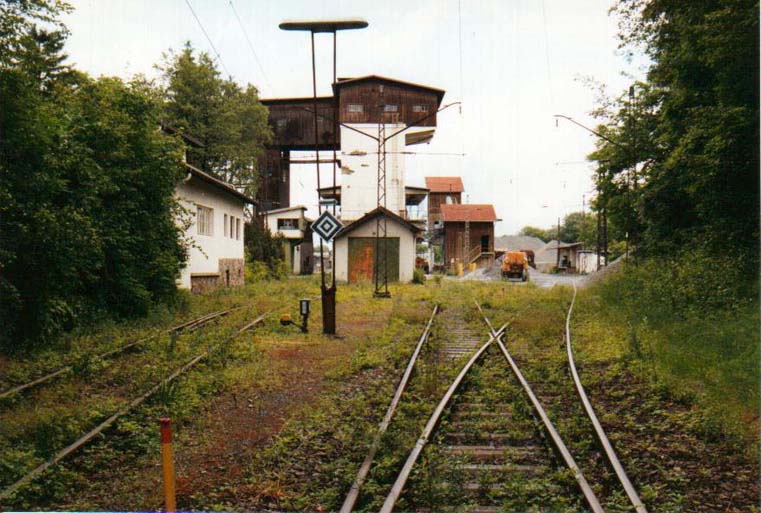
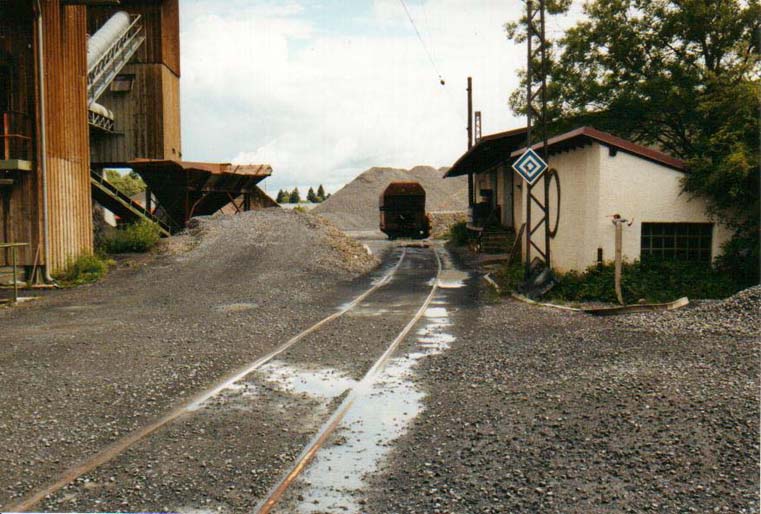
Hartstein Werdenfels from the yard throat, the first switch into the complex.
The line on the right heads to a storage shed. The line on the left heads to the loading area.
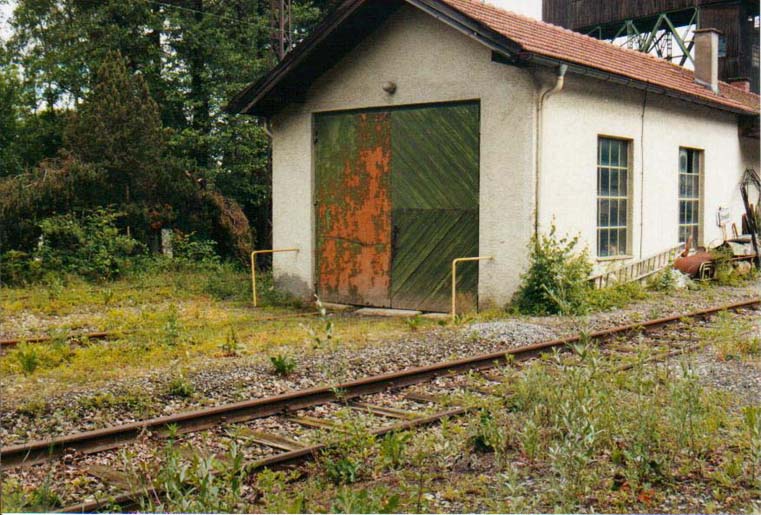
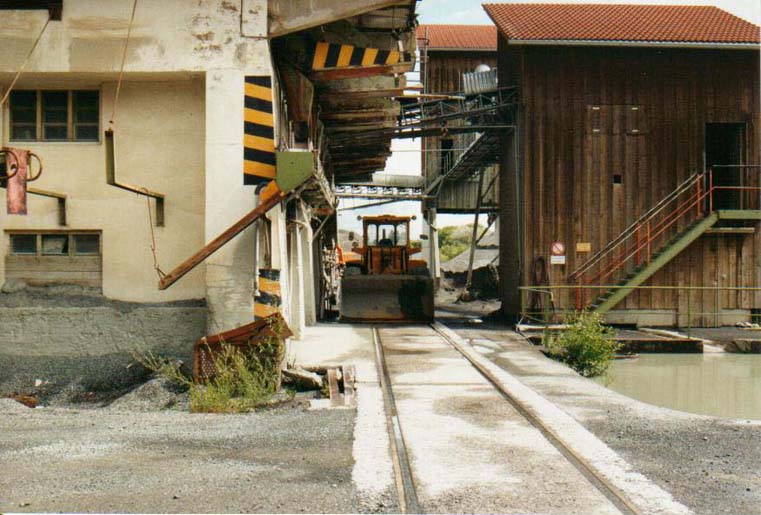
In the foreground is the Lokschuppen, which houses the company's own Köf II diesel locomotive.
Similar view. Behind the Lokschuppen is the large sorting and loading facility.
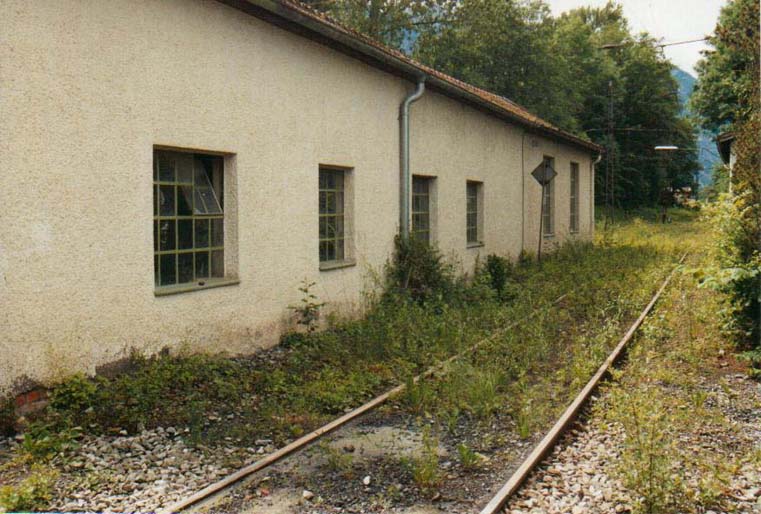
Looking back towards Eschenlohe, the side of the Lokschuppen.
Another shot of the Lokschuppen.
Looking back towards Eschenlohe, the other side of the Lokschuppen, and what appears to be a shop behind the Lokschuppen.
A better shot of the storage sheds.
A better shot of the ballast hopper and a dumping bin on the left.
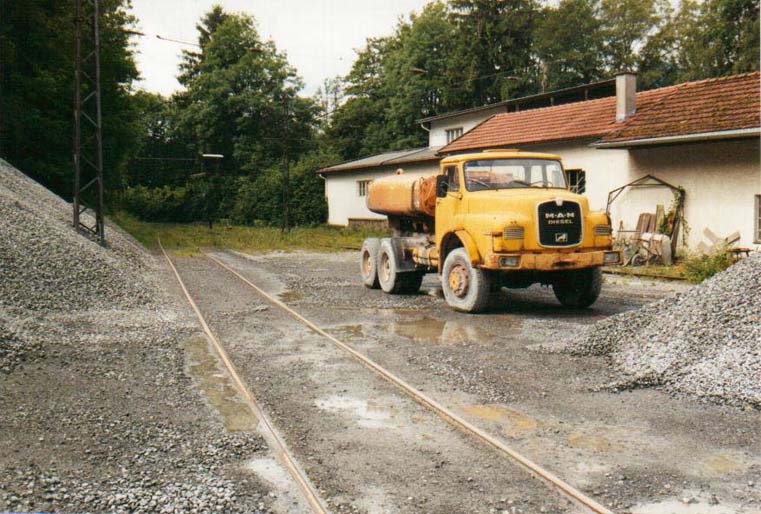
A payloader sitting on Loading Track #2.
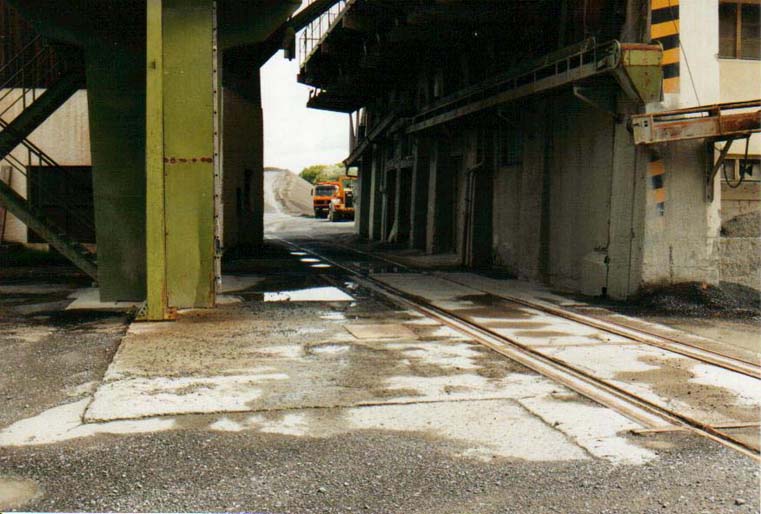
A view of Loading Track #1.
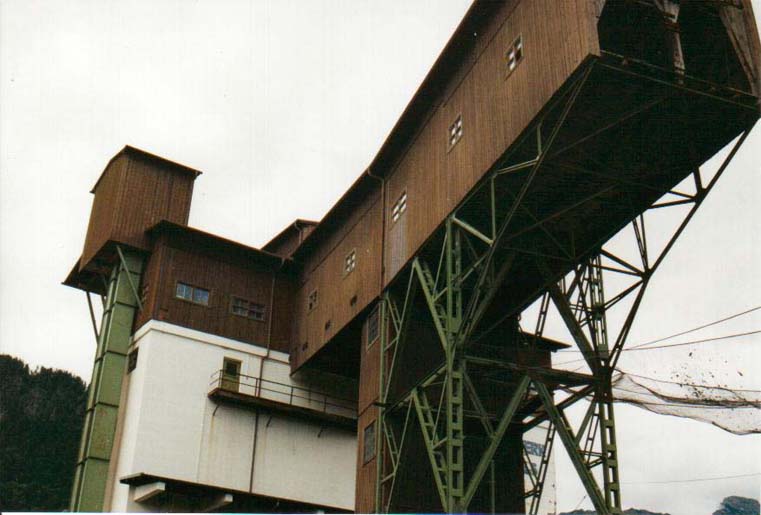
The entrance to the loading and sorting facility for the Seilbahn
Loading and sorting facility from B-2. Note the netting on the right, which protects vehicles from falling ballast.
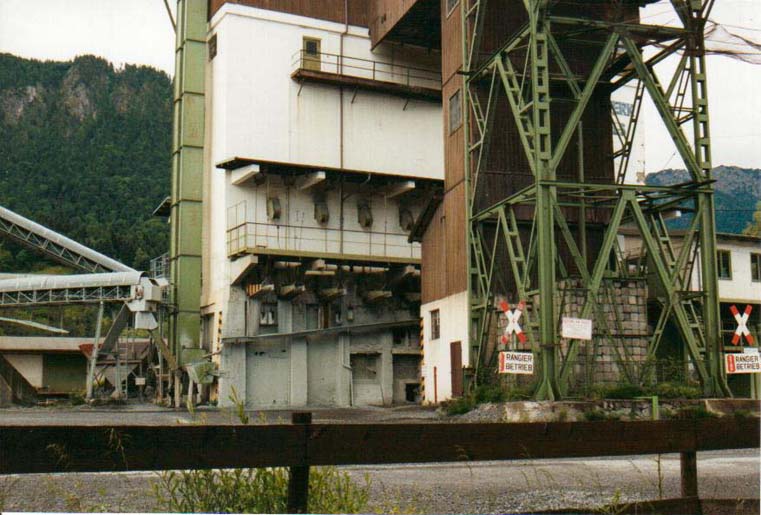
Lower part of the loading and sorting facility as seen from B-2.
A better view of the ballast hopper. Building on the right appears to be a transfer facility, but I am not sure.
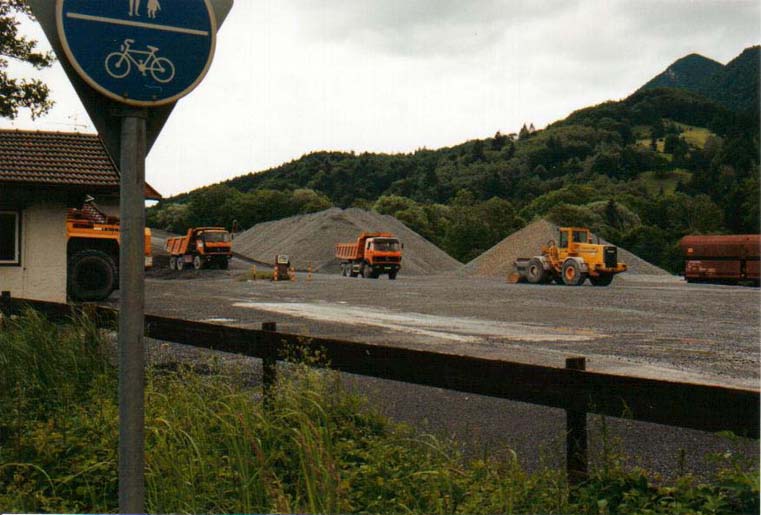
Heavy machinery and piles of ballast as seen from B-2.
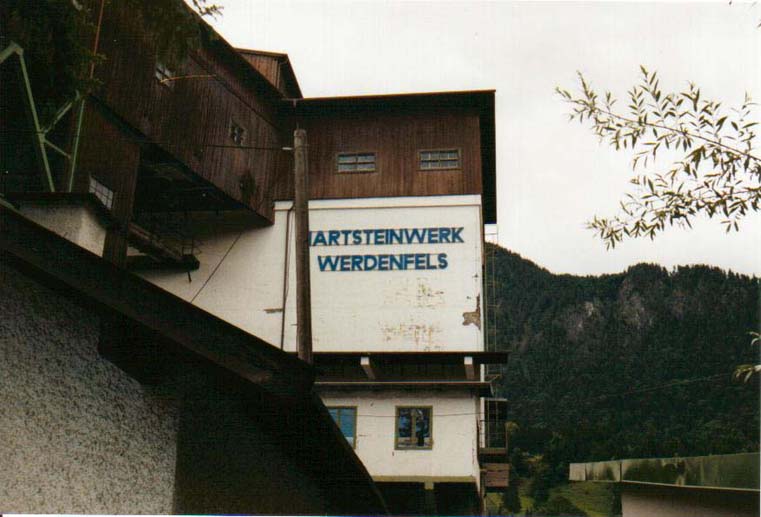
Company's sign on the loading and sorting facility as seen from B-2.


